Feeds:
Posts
Comments

Little ducky cake!

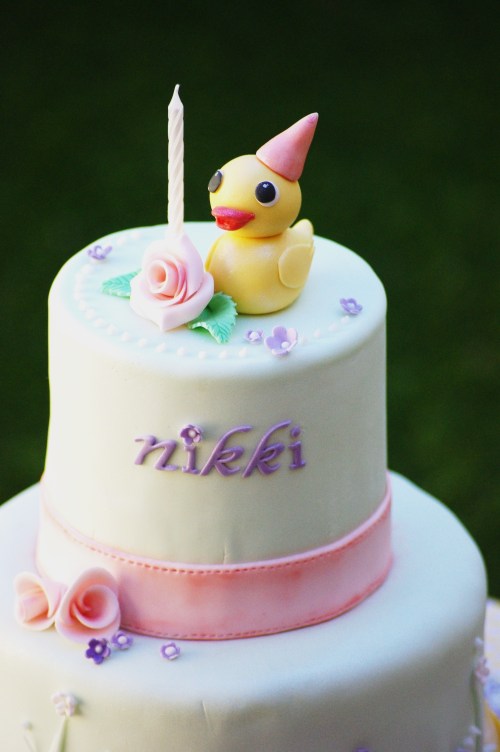
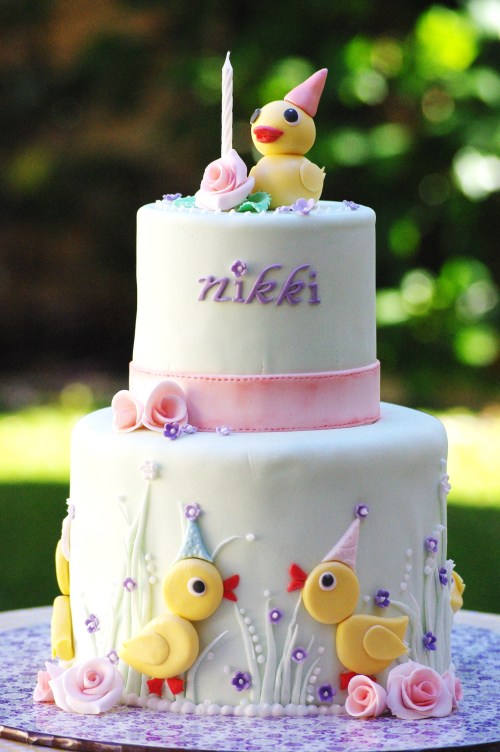
Quack quack… made this little ducky cake for little Nikki who turned ONE last week.  I made her one month old cakes and cupcakes a year ago and I am really honored when I was asked to make her 1st birthday cake !

Nikki loves her ducks, and her mum gave me full authority of what goes on the cake, as long as there are ducks.  So, I went with a light duck egg green as the background.  Bottom tier of cakes are decorated with ducks having a party and the top tier I kept it simple with one duck, one candle and few roses.

Happy 1st birthday Nikki!

little ducky cake

Last week was my parents anniversary, and the kids wants to make a cake for their grandparents.

So I thought I share what they make, something simple and delicious.

Start with a 4 inch chocolate cake and frosting.

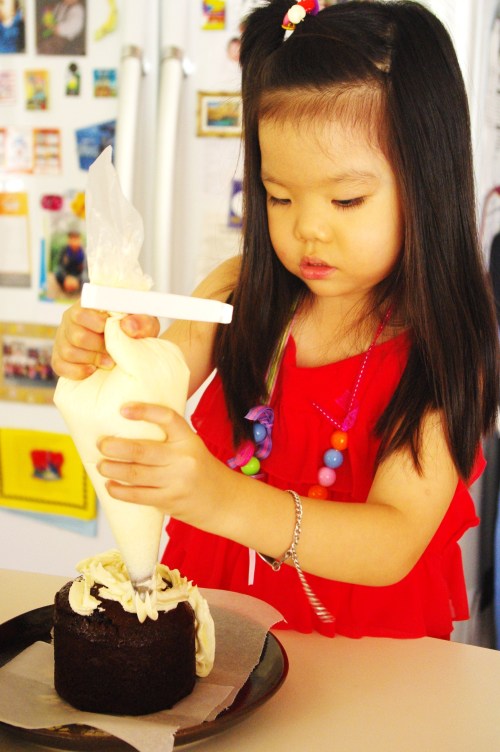
frosting the cake

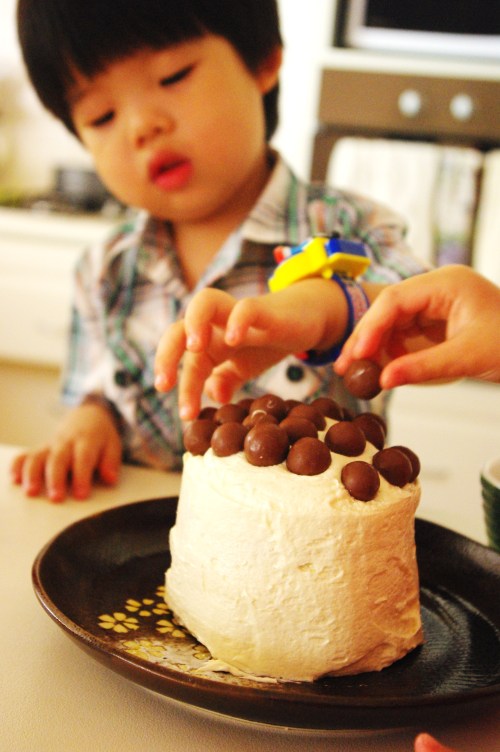
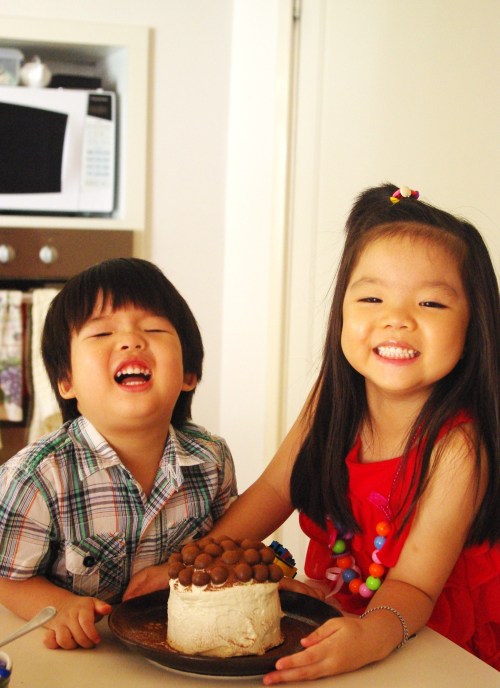
After Stella frost the whole cake, I used a small spatula and help to smooth out the surface.  Then, here comes Jake with his maltesers and start decorating the top of the cake.

Maltesers.... yumm!!

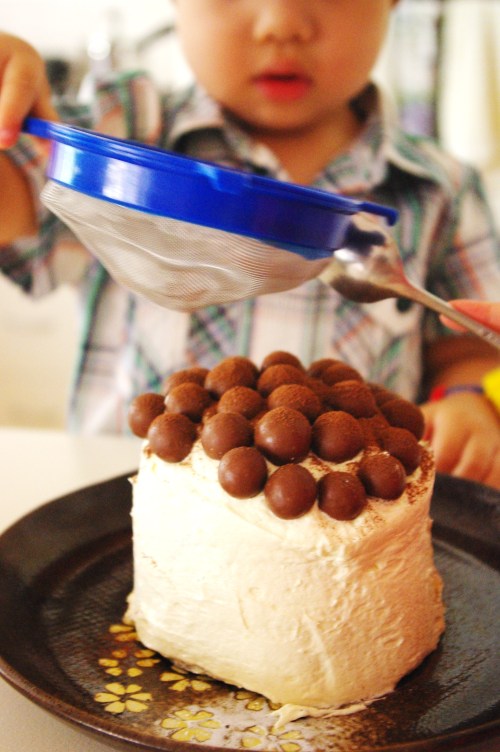
A little dusting of cocoa powder makes the cake that much more beautiful!

sprinkle sprinkle.... cocoa powder...

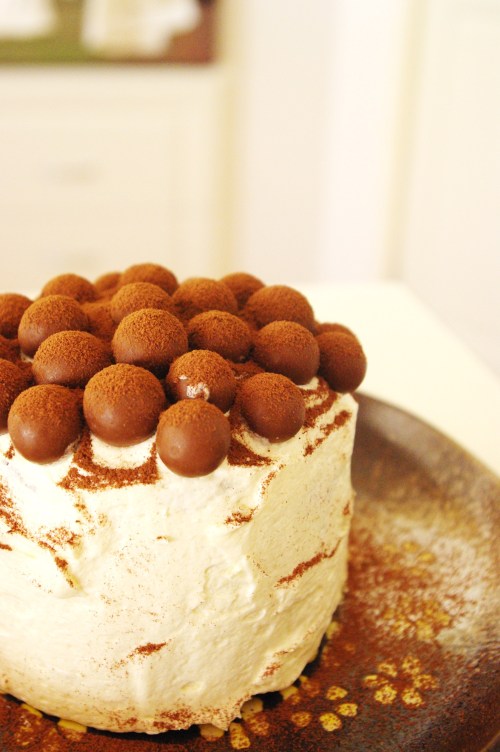
Ta da….

maltesers, frosting and moist chocolate cake!

two little happy cake decorators

Happy anniversary grandpa and grandma!

Snack ideas for a hot day!

It has been so hot here in Perth.  I don’t know about you, but I don’t really like to cook when it gets really hot.  So instead we eat lots of sandwiches, salads and wraps.   Blame it on the weather for not cooking, good excuse!

Anyway, I do find that the kids gets hungry after school, around 3 o’clock.  And yes, it is still scorching hot at 3, so I found a few snack ideas that will fill them up,keep them cool and it’s HEALTHY as well.  Trust me is super duper easy!
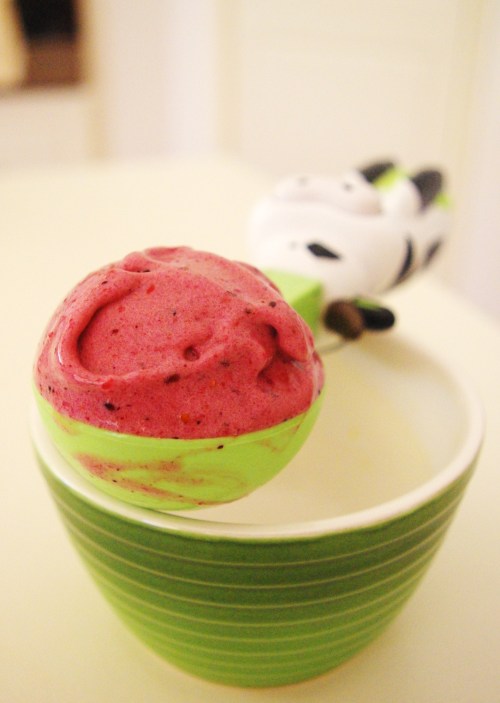
Yummy banana and summer berries!

It may look like an ice cream, it has the consistency of ice cream, but this is even better than ice cream.  It’s only made up of  2 ingredients.

equal quantities of:

1. Frozen bananas

2. Frozen summer berries (blueberry, raspberry and strawberry)

Simply put chopped frozen bananas and frozen berries into a food processor and blitz until is smooth.  That’s it!  Easy!

The way I like to serve them is with an ice cream scooper, you can put it on an ice cream cone as well if you like.  My kids loves this banana and berries ice cream, and if your kids are not really into fruits you don’t really have to tell them what’s in it!
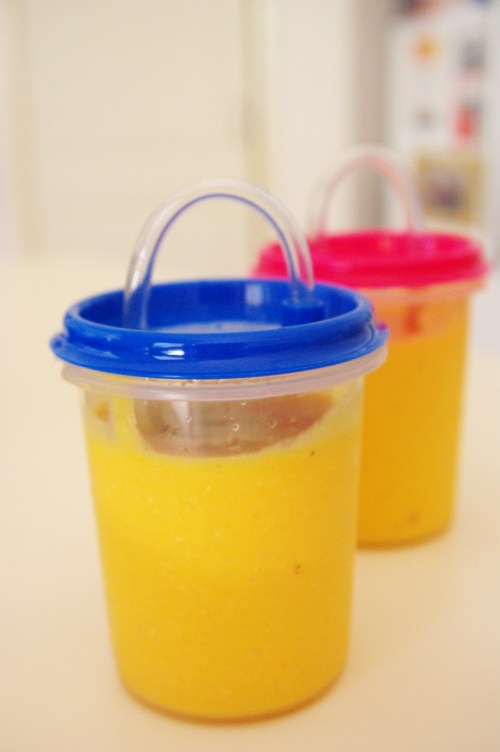
Mango Smoothies

I make this smoothies a lot!  Usually I will make a batch right before I pick Stella up from school.  Both Stella and Jake loves it, perfect for a hot day.  This smoothies is cold, filling and delicious.

Mango Smoothies:

1.  Mango, chopped into 2 cm pcs

2.  Low fat Vanilla Yoghurt

3.  Low fat milk

4.  Honey (to taste)

Throw all the ingredients in a blender and again blitz until is smooth and creamy.  I don’t have an exact measurement for this, so if you think is too thick add more milk.  If it’s too sour to your liking add a little more honey.  What I love about this is you can add other leftover fruits (eg. I always have 3 or 4 strawberries left in a box)  so throw them in,  then you will have Mango and Strawberry smoothies.   Another great fruit combo is : Banana and strawberries.
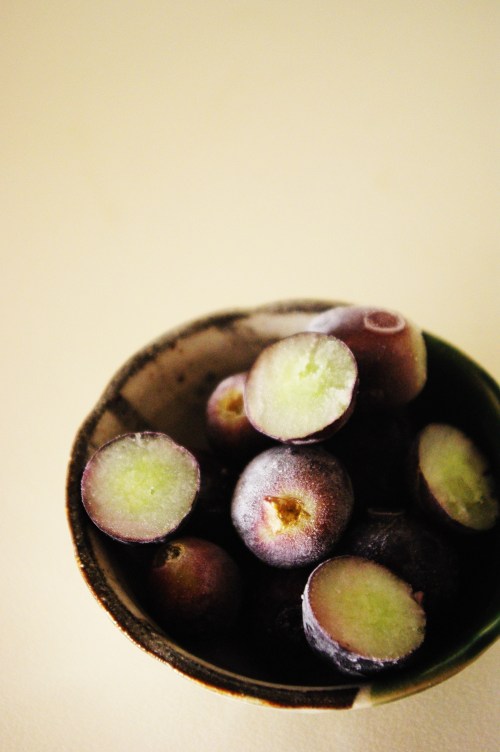
Frozen grapes!

I always have this last snack idea in the freezer.  It is simply “Frozen grapes!”.  So one ingredient: grape (any type as long as it is seedless)
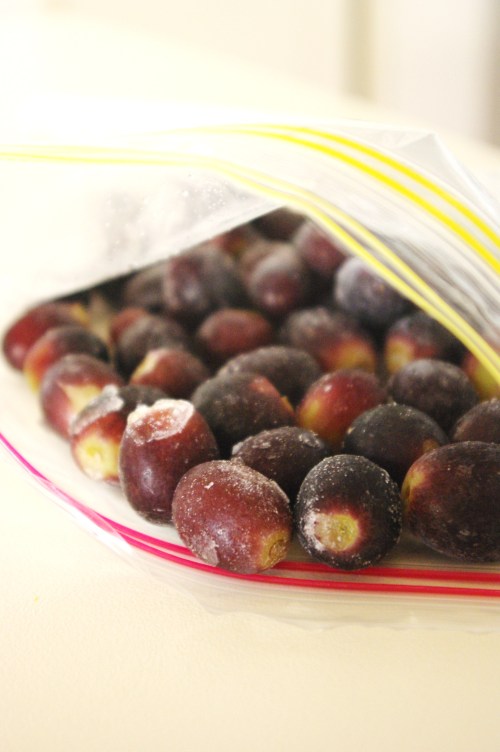
Grapes in the freezer bag

Wash the grapes and stick them in a freezer bag and put them in the freezer for about 4-5 hours until the grapes are frozen.  We bought our grapes from the growers so is super fresh then I would prepare them to go to the freezer that day.  It keeps the grapes fresh and no more mouldy grapes in the bottom of your fridge drawers.

All these snack ideas are best eaten pretty much as soon as you made them, except for the frozen grapes!  But once they are frozen, they are ready to eat anytime.  What I love about it is that is healthy and packed with loads of vitamins and anti-oxidants.  Best of all no artificial flavouring and colouring.

A great alternative for ice cream on a hot day – definitely!

Just a little note about snacking and treat:  I don’t give out treat everyday to my kids.  My motto is “Is a treat so it’s sometimes food”.  Don’t get me wrong we do not deprived them from it but we also do not make a big deal out of it.  I try to give them healthy food that they like and encourage them to try new fruits and veges.

I am big on this, I think teaching children to have a healthy lifestyle is important!  I hope it will give them a good start with their eating habbits.

I also think that people around the children need to support them by giving them good example of eating healthily.  My parents knows about how I feel about this and they fully support me, so I know they will not ‘bribe‘ the kids with sweets and ice creams.  However, I do find it hard when people start giving them endless treats just to get the kids to like them!  Not to mention it confuses the kids.

So I hope by sharing these ideas, more people realized that there are lots of easy home made alternatives to sweet, unhealthy snacks and hopefully start experiment making their own!
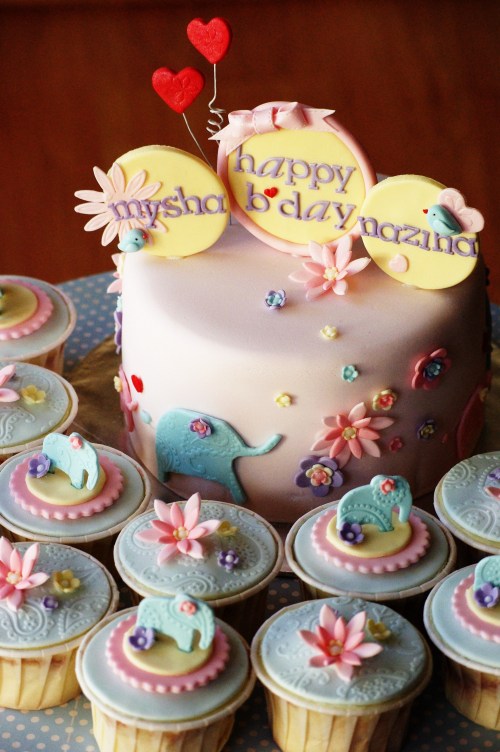
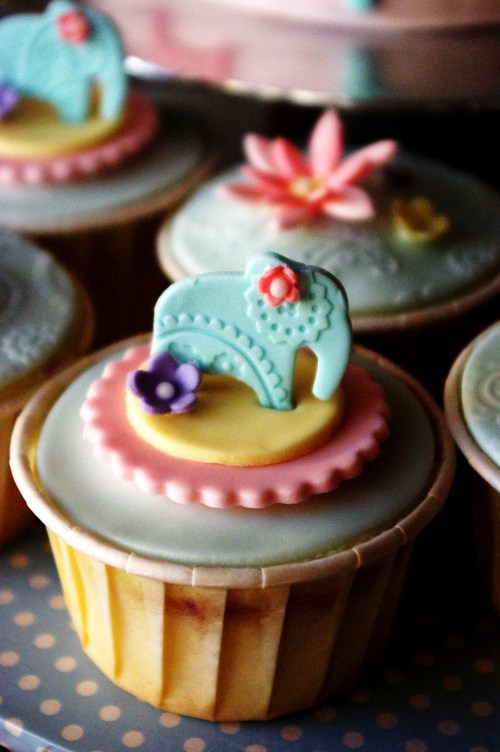
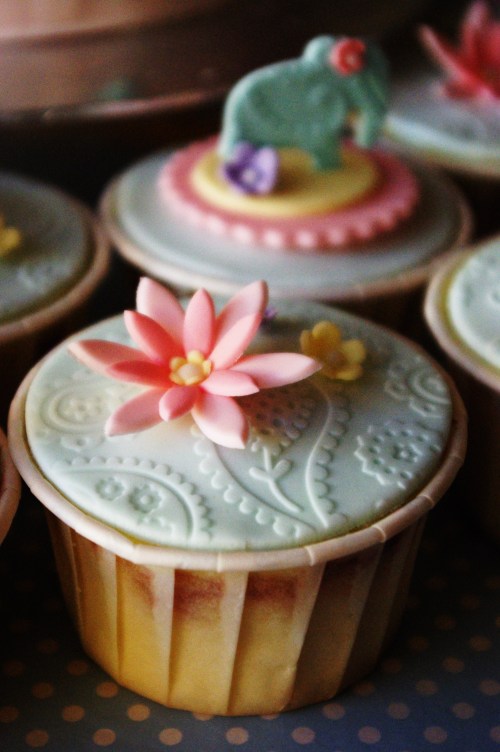
Made this elephants theme cake and cupcakes recently.  It’s for two sisters who are celebrating their birthday together. 

The elephants are inspired by the super duper cute birthday invitation and of course being a girly girly cake, I love to add flowers, bow, hearts and cute little birdies. 

Have a lovely Sunday everyone!


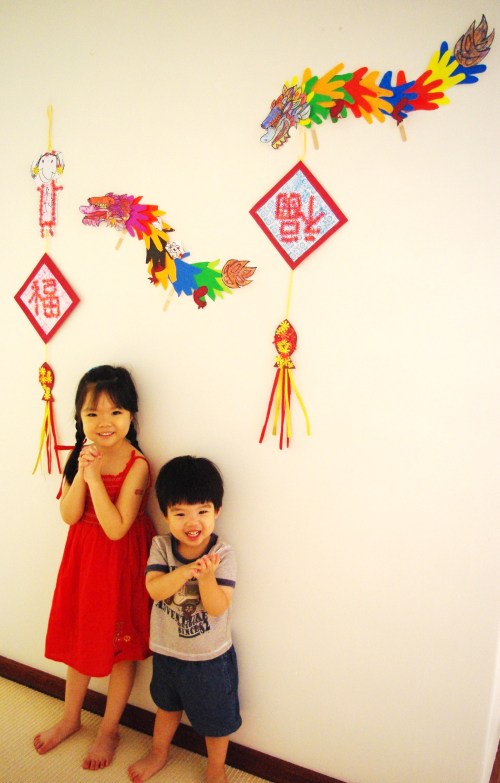
Another day before chinese new year and we managed to make another craft.  This time is the “FU” wall decorations. 

Stella was very excited this morning.  Not because we were about to do craft but because it will be her first day going back to school tomorrow – I will have a Pre-schooler in my house!  Full 5 days she will be in school!

Anyway, about this wall decoration, we made it with the things that we have lying around the house.  So all of it is made from scraps lying around the house. 

What you need

Card board

White paper

Stamps

Ink pads

Glue stick

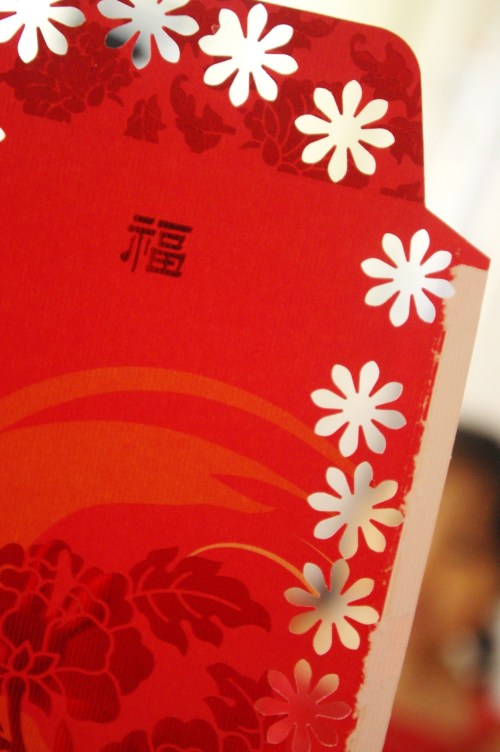
Red packets

Red and yellow/ gold crepe paper

Paper punch (My mum happen to have this beautiful daisy one, or you can cut the paper into any tiny shape)

String

Masking tape

First cut the cardboard into a square (I use a square cake tin as a guide). 

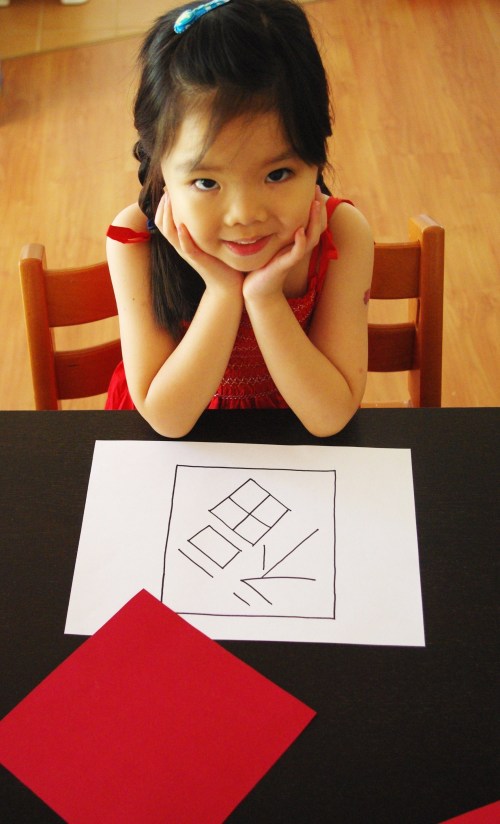
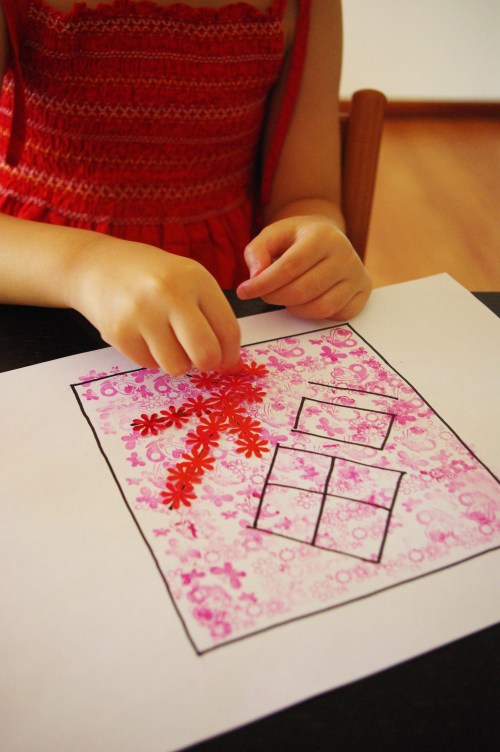
Then using a smaller square cake tin I drew a square on a white paper and wrote the chinese character for “FU” in the middle.

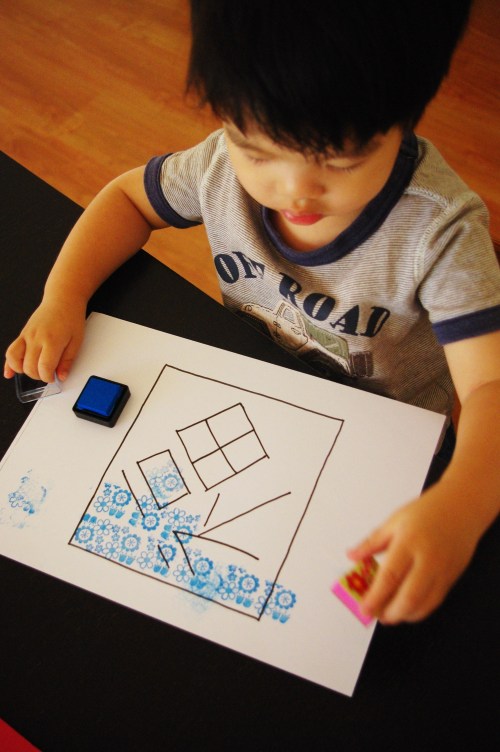
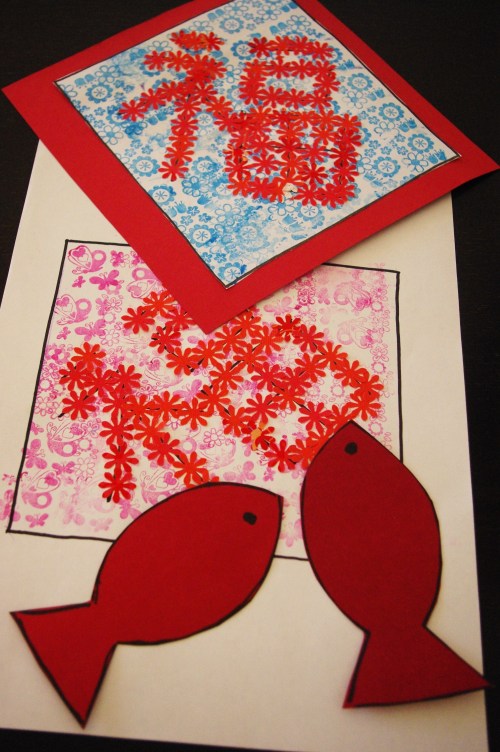
Get your stamp and ink pad and stamp away making beautiful pattern as the background.  The key is to use just one colour ink.  Jake chose blue and Stella chose pink.  As for the stamp Jake chose the one with flower and Stella chose butterfly, anything is fine as long as it doesn’t say merry christmas : )

While the kids are stamping, take your red packet and paper punch and punch away as much as you can.  The one that I used were a little stiff, so it was a work out.

These punched out daisy is then glue on top of the “FU” to make the character stand out.

Now after that is finished, cut the “FU” square and stick it on to the square cardboard.

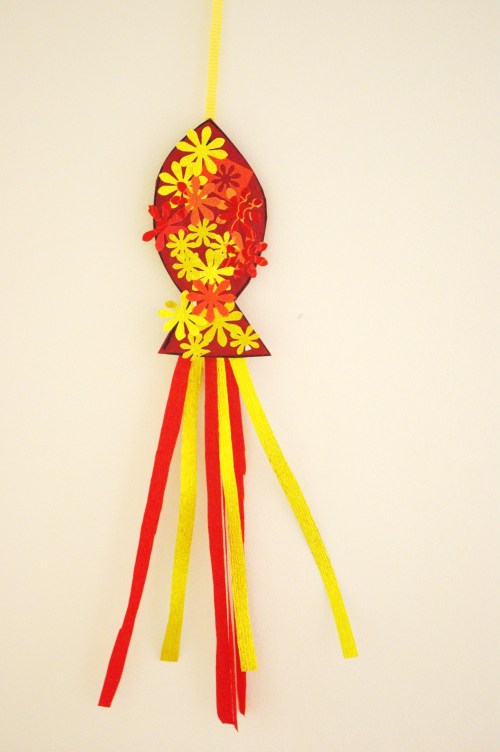
Next we added good luck fish.  So just draw a simple outline of a fish and decorate with the red packet daisy.  I found some gold crepe paper so I added that to the mix.  Cut long string of red and gold crepe paper and stick to the tail end of the fish with a masking tape.

decorated good luck fish

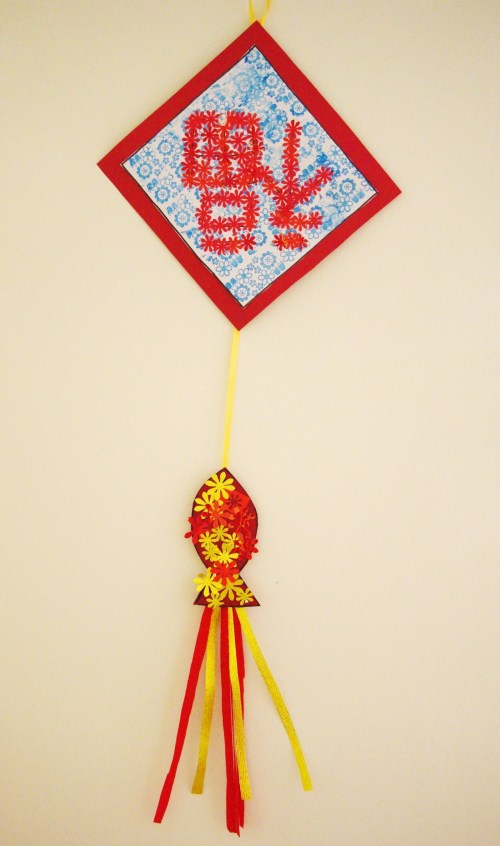
Last step, get a long string and lay out the “FU” character on top and the fish underneath it, use masking tape to secure them into position.  Maybe you’ll notice that Stella’s “FU” is the right way up and Jake’s is upside down.  Either way is ok.

Jake's "FU" wall decoration

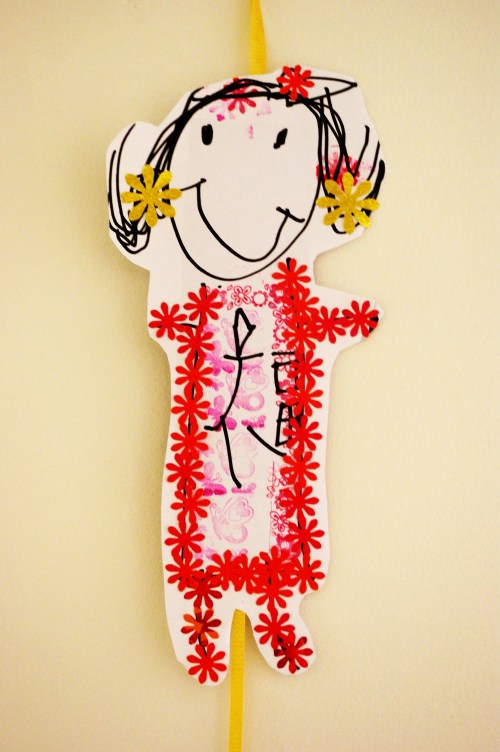
Stella designed a little chinese girl with gold earring to add to her wall decoration and if you look closely she attempted to write the word “FU” on the body.

Stella's chinese girl design

Doing all these chinese new year crafts with the kids has been so much fun.  It brought back memories of the many chinese new years I spent as a child in Indonesia.  Where we would go to my maternal grandparents house for the new year eve dinner.  Then the next day we would drive to my paternal grandparents place and spend the new year there with my dad family.  So much fun and how I missed those times! 

So if there were one thing that chinese new year remind me of it would be one word FAMILY!  Family that accepts you and welcomes you with open arms, where you feel comfortable being who you are.  And this is what I want my kids to feel!  A warm fuzzy feeling that you belong to a family!

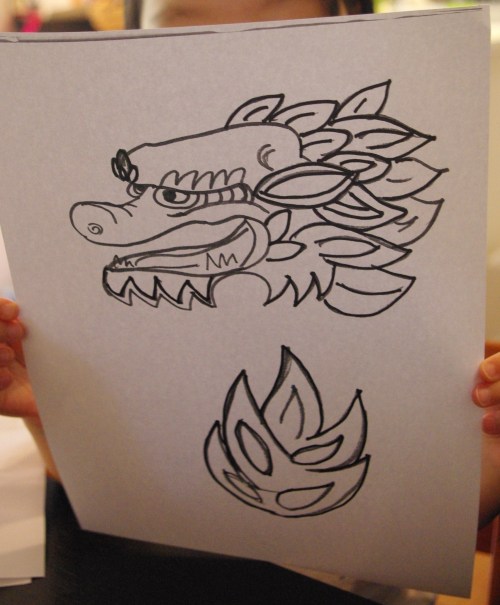
I was flicking trhough my NEW Planet Cupcakes book that I got for christmas and saw this gorgeous dragon cupcakes.  Is so beautiful, I love the colours and the details HOWEVER I am not trying to recreate it anytime soon : )  But, it did gave me an idea for the kids chinese new year craft.  So here we are dragon puppet by Stella and Jake.

By the way, the weather has been so hot and humid here in Perth.  That’s why you see the kids wearing minimal clothes and sweating a whole lot.  A simple act of colouring can really work a sweat!

What you need

Cardboard (for the body and claw)

Lots of different colour paper

Glue stick

Colour pencil

Masking tape

Gliter

Popsicle stick


Start by drawing the head and tail of the dragon, I copied the one from the Planet Cupcake book and draw them freehand. 

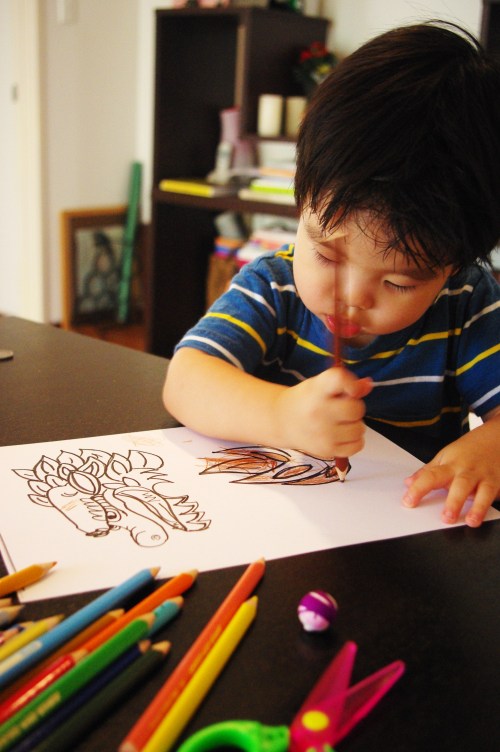
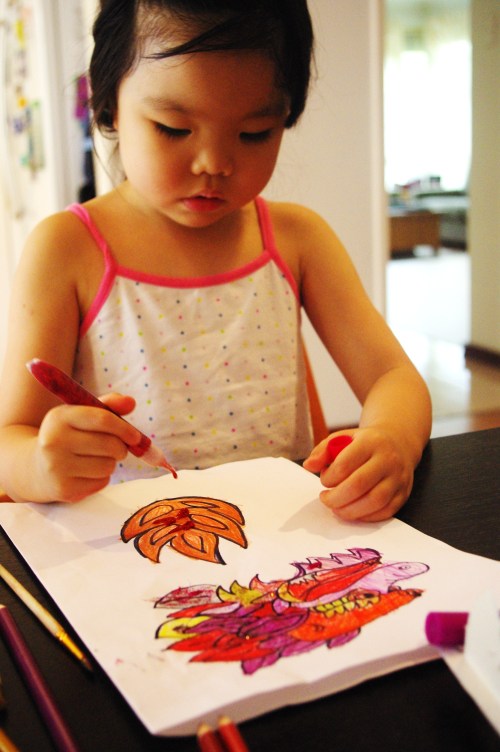
Get the kids to colour the head and the tail, then add some glitter to make it even more festive.

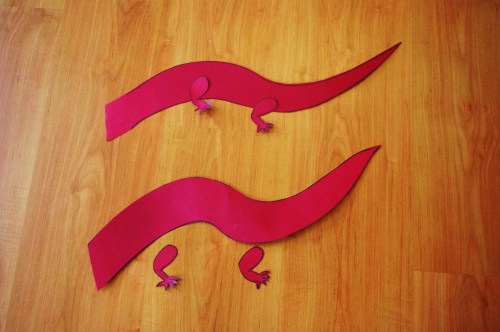
While the kids are colouring, draw the dragon body and claw on the cardboard like this:   (It look more like a decapitated lizard at this time, but bare with me the end result is spectacular!)

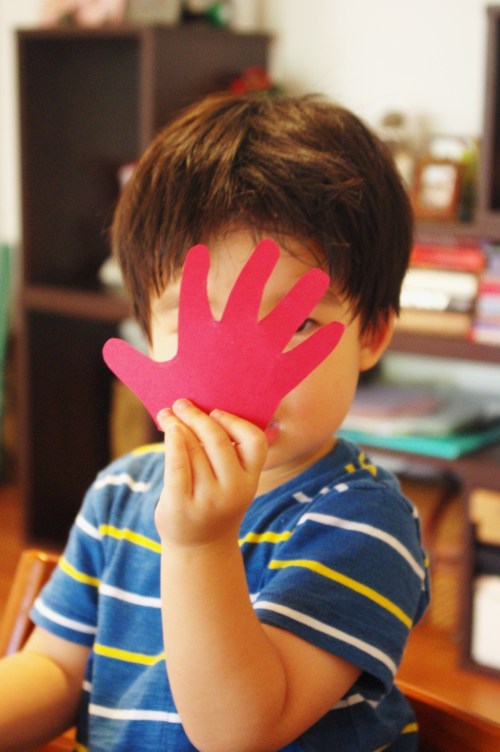
Next step is to trace your child’s hand on a piece of cardboard and cut them out to make the ‘hand template’.

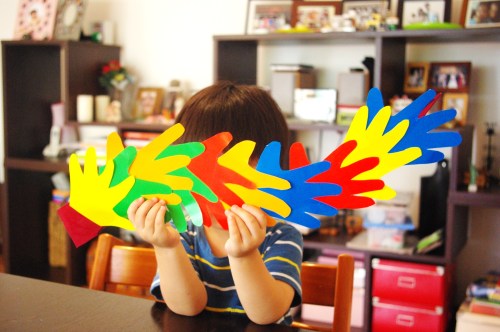
As for Jake, I traced and cut all his hand print by using the template.  While Stella on the other hand traced and cut all her own hand print.  Once you have enough of the colourful hand print (we did about 8 – 10) , start glueing the hand print onto the dragon body.  Work backward from the tail to the head.

Once you have the body ready, cut the head and tail and glue them in place.  Glue the dragon claws and stick the popsicle stick with a masking tape. 

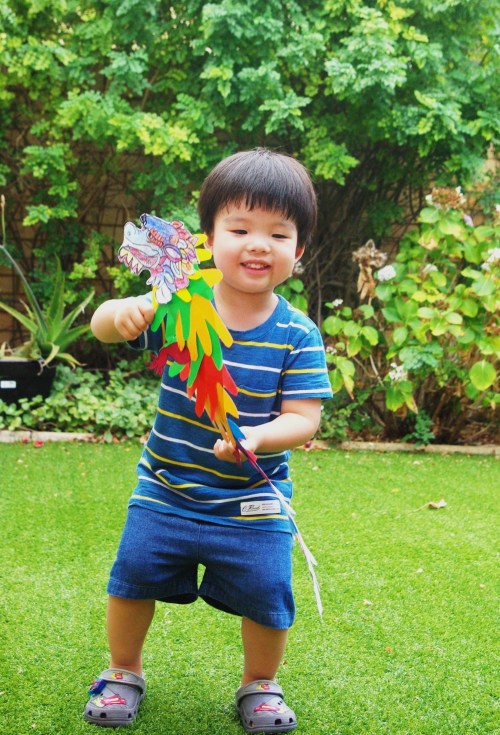
Ta da!  A beautiful, colourful dragon puppet perfect for chinese new year!  I must say I really want to do one as well!  All you need now is some “Tong toroooong tong qiang…!!”

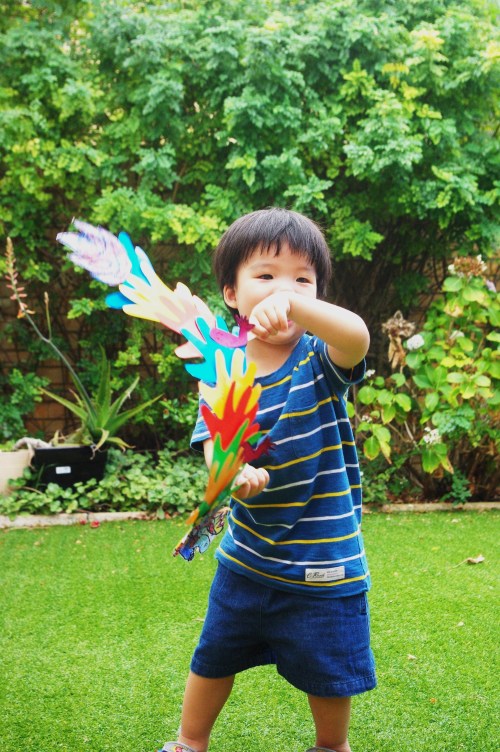
Stella and Jake were so happy and proud of their dragon puppets.  Jake can’t stop dancing… so I thought I’ll show you some of the pictures.

So… HAPPY CHINESE NEW YEAR EVERYONE!

She is FIVE!

Yes! This is an extremely overdue post, Stella’s 5th birthday was last year November 2010… oh dear I feel really bad.  But I guess, better be late than never!

My little girl is FIVE!  FIVE years old! I can’t believe how fast time flies. 

I still remember the drama last year when she got sick after our travell and she was admitted to hospital.  How worried we all were and how happy we were when she made it back home for her birthday!  I still remember the little flower print dress that she wore that day and when I took her to the hair dresser to do her hair (that was my present for her!) and she got all the colourful ribbons on her hair.  And now a whole year has past??? really???

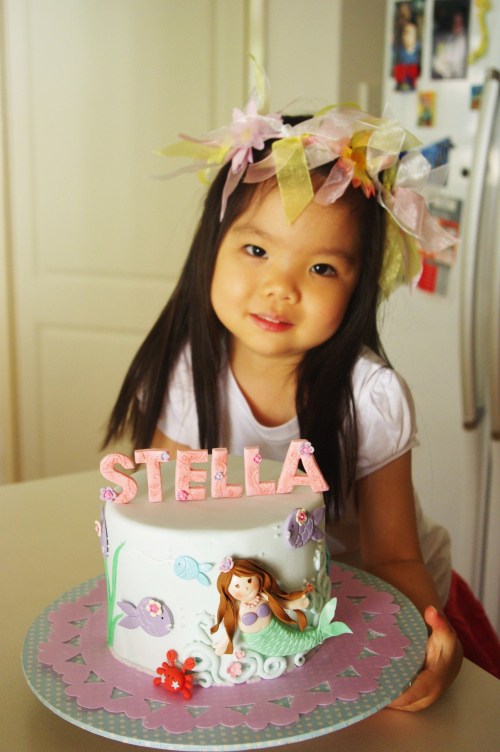
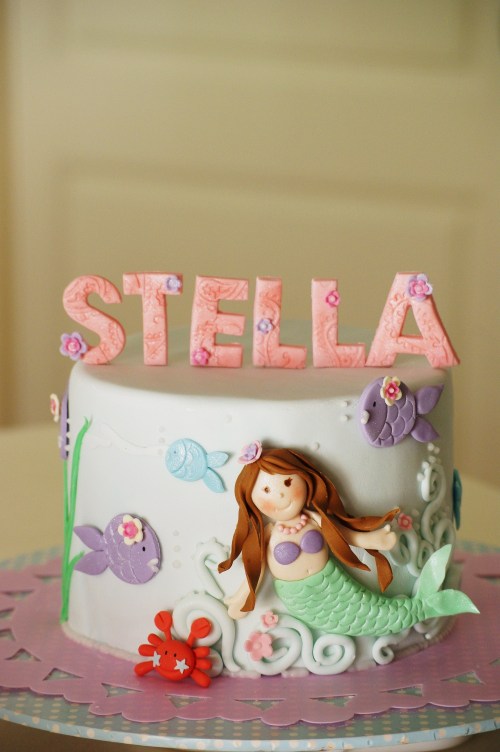
Last year she wanted a mermaid cake, but because she was sick and we spent lots of time in the hospital I didn’t get a chance to do a mermaid cake.  So this year… here it is!  Stella’s mermaid cake, I worked together with my cousin Eve who helped me to design the invite and thank you note.  And I used her invite as an inspiration for the cake with splashes of “pink and purple” birthday girl’s favourite colours.

Stella's mermaid cake

Stella has grown a lot this year.  She started kindy early this year, and become more and more confident.  She is a great sister to Jake.  She got her own bedroom now, and been so wonderful with cleaning up and making her bed every morning. 

A little note to my dearest Stella:

“Stella you are a wonderful person.  Very thoughtful and loving.  You care about everyone around you.  I am so lucky to be your mummy!!  Happy 5th birthday sweety!

Hello 2011!

Wow it has been such a long time since I wrote anything here. We have been busy not only with work and everyday things but mainly busy mentally dealing with this terrible 3 that we have in the house. J has been quite a handful lately, especially after we came back from our holiday on September. Not quite sure what happened, but he has been so difficult lately, you know – not listening to anything we say, shouting, screaming, winging, always unhappy, always upset, not sharing, yes the lot! I’m praying that this is a normal phase that a 3 year old goes through and he will get over it soon.

So today after an episode of bad behavior, lots of screaming and shouting, I punished him by locking him in the toilet for a few minutes, so obviously he cried and screamed so hard – he almost lost his voice. I told him that if he doesn’t stop screaming he will eventually lose his voice. He was so worried, he told me that we should quickly go to the shopping centre. I asked why? He said because we need to buy a new voice for me… Oh bless! 🙂 we so love his innocence!

Is anyone out there experiencing the same issues as us?? J starts pre school in a few weeks time, I’m hoping this will be a start of something good and exciting for him. I have been talking to him about it and he’s really looking forward to going – especially to play with the resident guinea pigs in the school.

Aside from that – how time really flies! Can’t believe it’s the start of a new year again. I’m thankful for the abundant blessings in 2010; we travelled, we dined and wined often, we upgraded our car, we bought an investment unit but most of all I’m thankful for families, friends and neighbours for enriching our lives one way or another. I know that this year will be an amazing year for us too as Joe starts his MBA program the same time as Jay starts pre school, more travels and maybe just maybe another little one to add more chaos and joy in our lives. 🙂