Feeds:
Posts
Comments

Archive for the ‘Children’ Category


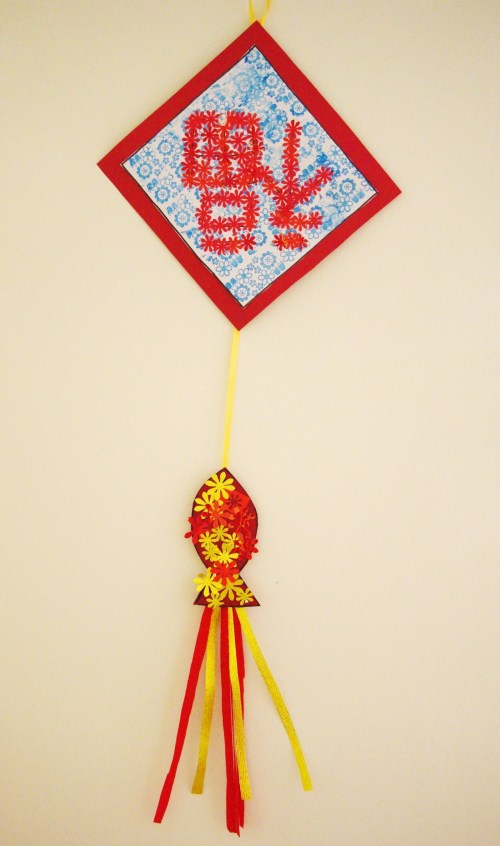
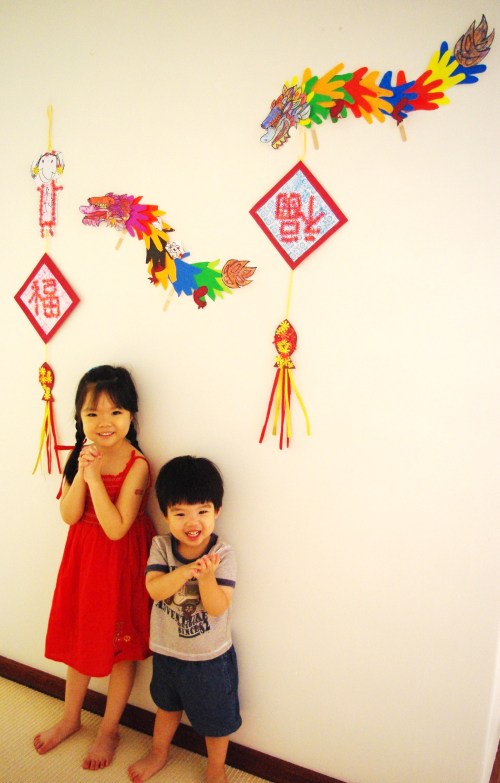
Another day before chinese new year and we managed to make another craft.  This time is the “FU” wall decorations. 

Stella was very excited this morning.  Not because we were about to do craft but because it will be her first day going back to school tomorrow – I will have a Pre-schooler in my house!  Full 5 days she will be in school!

Anyway, about this wall decoration, we made it with the things that we have lying around the house.  So all of it is made from scraps lying around the house. 

What you need

Card board

White paper

Stamps

Ink pads

Glue stick

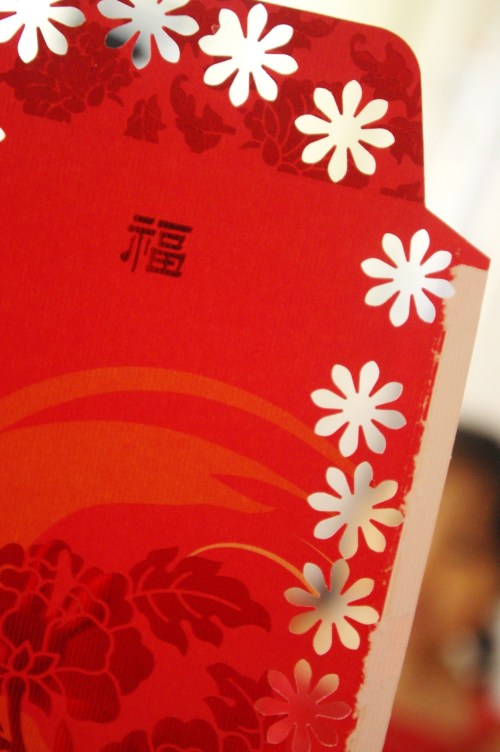
Red packets

Red and yellow/ gold crepe paper

Paper punch (My mum happen to have this beautiful daisy one, or you can cut the paper into any tiny shape)

String

Masking tape

First cut the cardboard into a square (I use a square cake tin as a guide). 

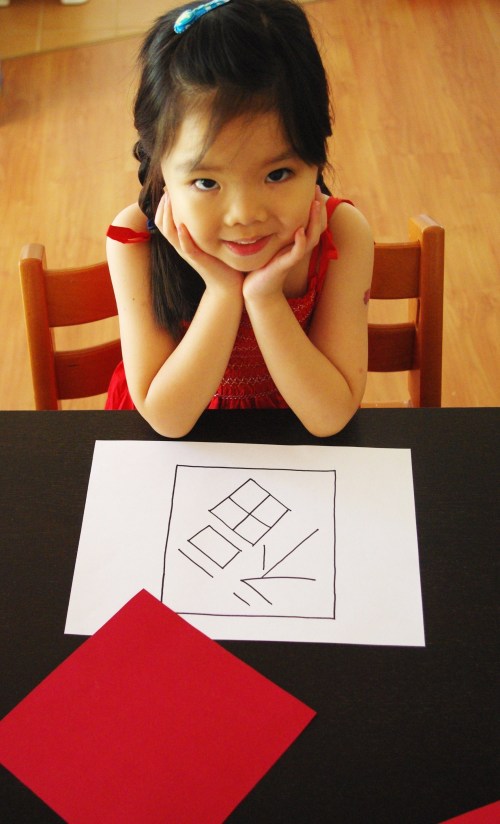
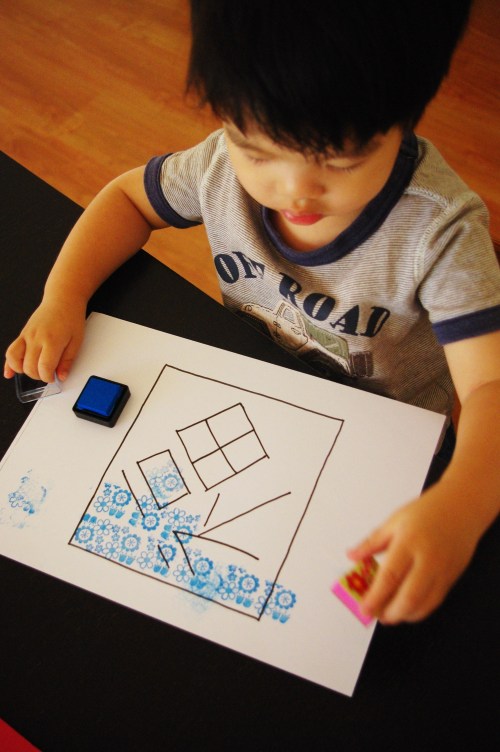
Then using a smaller square cake tin I drew a square on a white paper and wrote the chinese character for “FU” in the middle.

Get your stamp and ink pad and stamp away making beautiful pattern as the background.  The key is to use just one colour ink.  Jake chose blue and Stella chose pink.  As for the stamp Jake chose the one with flower and Stella chose butterfly, anything is fine as long as it doesn’t say merry christmas : )

While the kids are stamping, take your red packet and paper punch and punch away as much as you can.  The one that I used were a little stiff, so it was a work out.
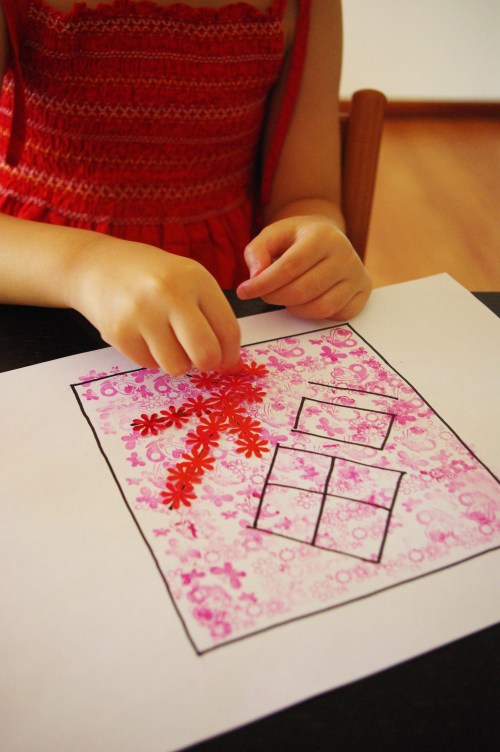
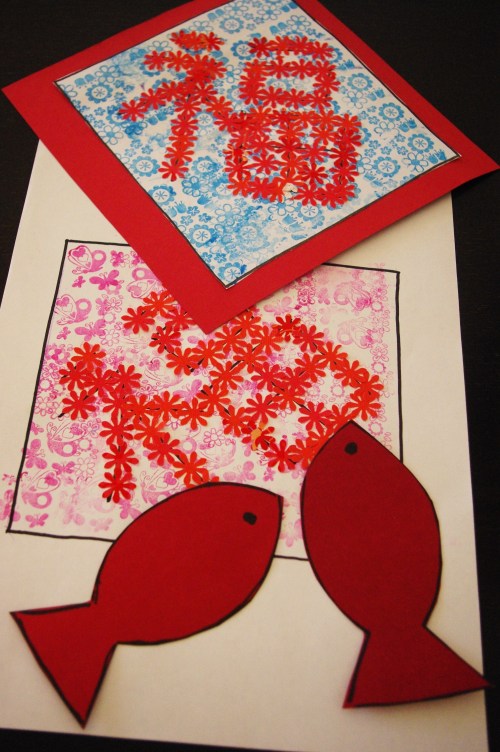
These punched out daisy is then glue on top of the “FU” to make the character stand out.

Now after that is finished, cut the “FU” square and stick it on to the square cardboard.

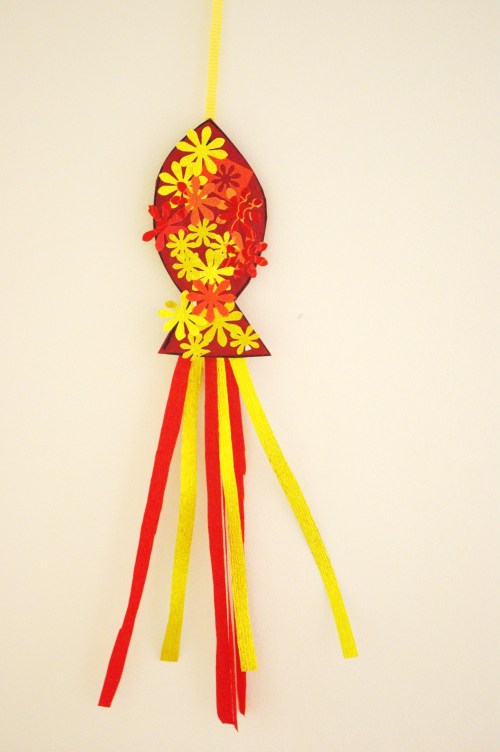
Next we added good luck fish.  So just draw a simple outline of a fish and decorate with the red packet daisy.  I found some gold crepe paper so I added that to the mix.  Cut long string of red and gold crepe paper and stick to the tail end of the fish with a masking tape.

decorated good luck fish

Last step, get a long string and lay out the “FU” character on top and the fish underneath it, use masking tape to secure them into position.  Maybe you’ll notice that Stella’s “FU” is the right way up and Jake’s is upside down.  Either way is ok.

Jake's "FU" wall decoration

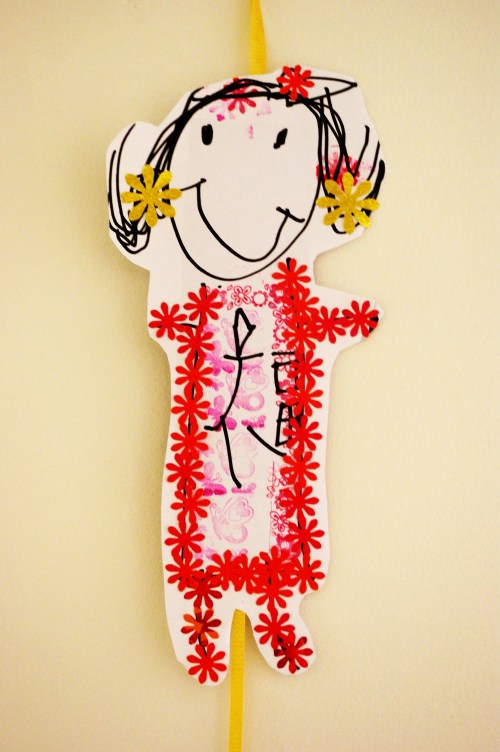
Stella designed a little chinese girl with gold earring to add to her wall decoration and if you look closely she attempted to write the word “FU” on the body.

Stella's chinese girl design

Doing all these chinese new year crafts with the kids has been so much fun.  It brought back memories of the many chinese new years I spent as a child in Indonesia.  Where we would go to my maternal grandparents house for the new year eve dinner.  Then the next day we would drive to my paternal grandparents place and spend the new year there with my dad family.  So much fun and how I missed those times! 

So if there were one thing that chinese new year remind me of it would be one word FAMILY!  Family that accepts you and welcomes you with open arms, where you feel comfortable being who you are.  And this is what I want my kids to feel!  A warm fuzzy feeling that you belong to a family!
Read Full Post »

I was flicking trhough my NEW Planet Cupcakes book that I got for christmas and saw this gorgeous dragon cupcakes.  Is so beautiful, I love the colours and the details HOWEVER I am not trying to recreate it anytime soon : )  But, it did gave me an idea for the kids chinese new year craft.  So here we are dragon puppet by Stella and Jake.

By the way, the weather has been so hot and humid here in Perth.  That’s why you see the kids wearing minimal clothes and sweating a whole lot.  A simple act of colouring can really work a sweat!

What you need

Cardboard (for the body and claw)

Lots of different colour paper

Glue stick

Colour pencil

Masking tape

Gliter

Popsicle stick


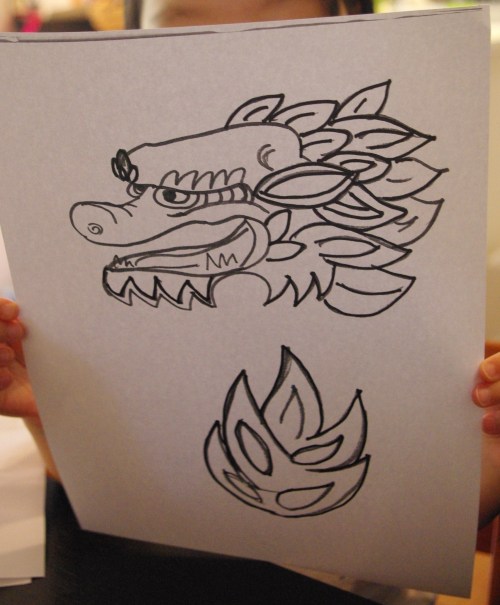
Start by drawing the head and tail of the dragon, I copied the one from the Planet Cupcake book and draw them freehand. 

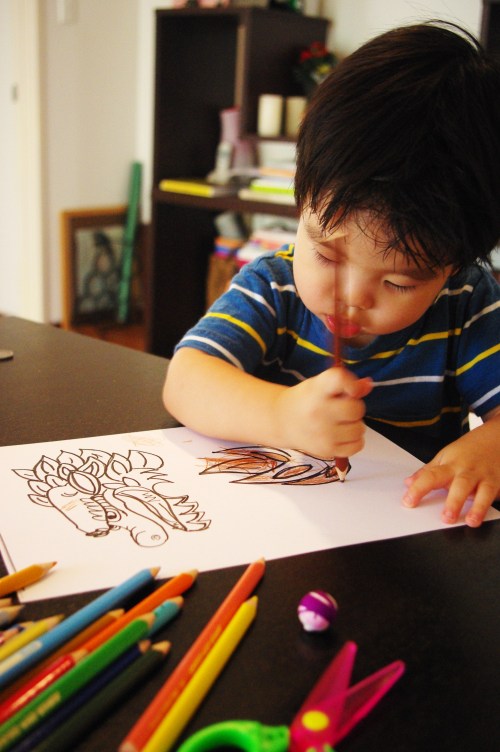
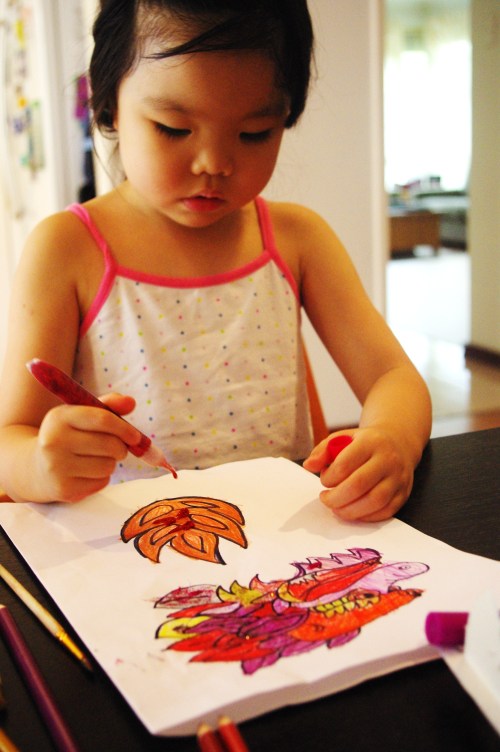
Get the kids to colour the head and the tail, then add some glitter to make it even more festive.

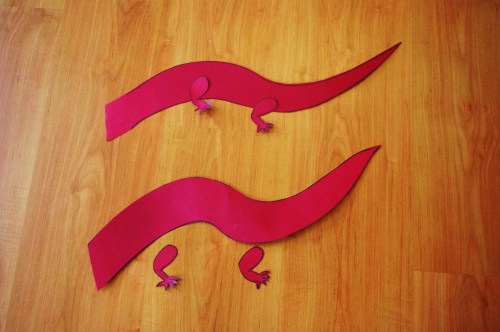
While the kids are colouring, draw the dragon body and claw on the cardboard like this:   (It look more like a decapitated lizard at this time, but bare with me the end result is spectacular!)

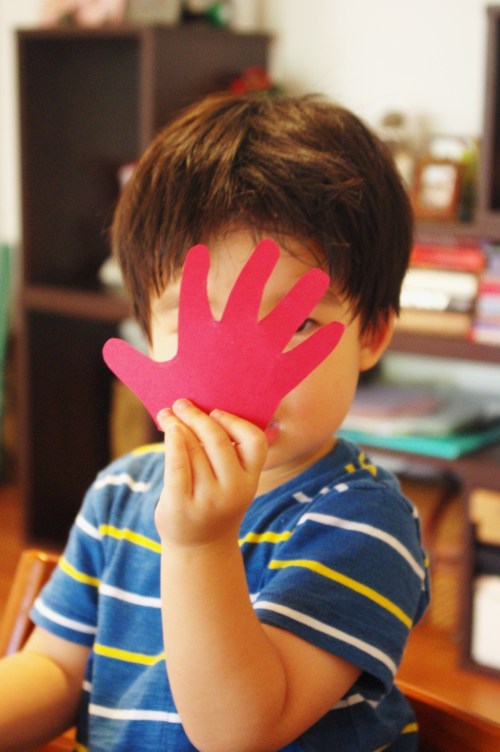
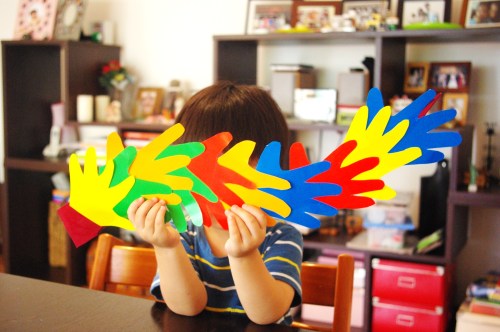
Next step is to trace your child’s hand on a piece of cardboard and cut them out to make the ‘hand template’.

As for Jake, I traced and cut all his hand print by using the template.  While Stella on the other hand traced and cut all her own hand print.  Once you have enough of the colourful hand print (we did about 8 – 10) , start glueing the hand print onto the dragon body.  Work backward from the tail to the head.

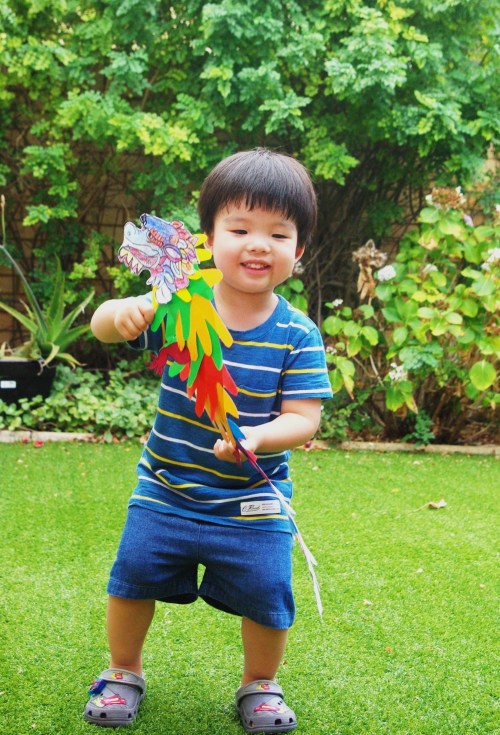
Once you have the body ready, cut the head and tail and glue them in place.  Glue the dragon claws and stick the popsicle stick with a masking tape. 

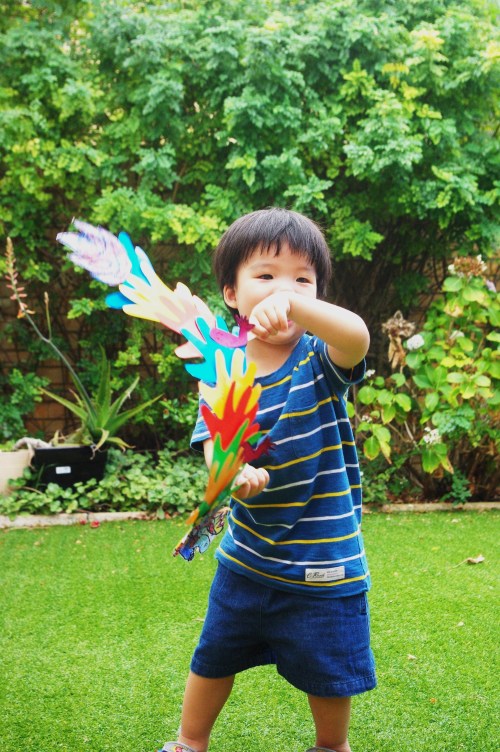
Ta da!  A beautiful, colourful dragon puppet perfect for chinese new year!  I must say I really want to do one as well!  All you need now is some “Tong toroooong tong qiang…!!”

Stella and Jake were so happy and proud of their dragon puppets.  Jake can’t stop dancing… so I thought I’ll show you some of the pictures.

So… HAPPY CHINESE NEW YEAR EVERYONE!

Read Full Post »

I am a self tought baker, cake decorator.  I am still learning lots of new things, and I must say, there are a lot of generous cake decorators out there who shares their tips and secret. 

Now, there are lots of people who asked  if cake decorating is hard.  Well, it is definitely an art I think.  It is hard but why not get some fondant and give it a go!  It is a lot of trial and error.  Working out colours and position can sometimes take hours.  There are times when I can’t go to bed because I can’t work out where to put things. 

The biggest high for me is when I see people jumping up and down looking at the final product, in other word “appreciating my hard work“.  And this is one of those cupcakes that brought me lots of joy.  It was for a 4 year old boy who wanted a ghost cupcakes.  The mum ordered the cuppies and when she saw it she was grinning from side to side, honestly, I can’t even stop her from giving me compliments.  She really made my day!

Here is my ghost cupcakes. 

If you are wondering what makes the ghost 3D.  The secret is marshmallow and allen’s ripe raspberries. 

Cover the marshmallow/raspberries lollies with fondant that has been rolled and cut into circles with cookie cutter.  Add some eyes and mouth (I used pen with edible ink).  And you got yourself a ghost figurines!

To attached the ghost figurines onto the cupcakes, I used a dollop of thick royal icing in the middle.  Make sure you use a thick royal icing, it makes the ghost figurines appeared to float.  I thought that was cute!

This ghost cupcakes is great for haloween, and a really great activity to do with kids.  Both Stella and Jake helped me out with sticking the raspberry and marshmallow.  I covered the fondant myself, just because this is for someone’s birthday.  But, children definitely can make this.  So, why not make some with the kids for haloween!

Read Full Post »

Yes, the humble bok choy = Rose.  Pretty one too!

One day when we chopped of the bottom part of the bok choy to cook for dinner.  Stella who is ‘recylcing’ everything said “Why don’t we use this for craft?”.  I looked at it and went  “you know what, why not”.  So we got some paint and guess what? We got this beautiful rose stamp.   

What you need

Bottom part of bok choy

Paints

Paper

Dip the bok choy into some paint.

Then press hard onto paper/ card.

Paint the flower stem and voila… you’ve got yourself a beautiful rose card.  This beautiful card was given to Stella’s kindy teacher for her birthday.

Read Full Post »

A month ago, Stella and I made potato foccacia together. Jake was out with daddy for his swimming lesson.

What I like about the recipe is it is very easy.  No extreme kneading, and the ingredients are easily in your pantry.

Stella did all the measurement.  She watched excitedly when the dough rises and I must say we were really pleased with the flavour and texture of the foccacia.  Out of the oven, crunch on the outside and chewy on the inside.  Super yum!  One thing that you must remember is that focaccia is best eaten the day you bake them.

Just to show you how fun and easy it is, here are some few pictures:  (It was a bad day for picture taking, we had sun, cloud and rain all in 2 hours)

mix yeast + lukewarm water

make a well in the centre of the flour

adding the yeast mixture to the flour

add mashed potato...

add 1 tbs olive oil, 1/2 tsp salt and 1 1/2 tsp sugar

first mix the ingredients with spoon

then get your hand dirty and mix until a dough is form

writting the time on the masking tape

at 9 o'clock

10 o'clock, almost doubled in size

at 11 o'clock ready to go to the oven

Here is the recipe:

(adapted from the Good Food Magazine)

1 potato, peeled and cut into 2 cm cubes

7 g dry yeast

140 ml lukewarm water

300 g plain flour

60 ml extra virgin olive oil

1 1/2 tsp sugar

1 tsp salt

marinated olives, halves or sea salt

(If you are making plain focaccia, scatter some sea salt on top.  For olive focaccia omit the sea salt)

Place potato in a pan.  Cover with cold water.  Heat on medium.  Bring to boil.  Cook for 10-15 mins until tender.  Drain and then mash.  (I do this myself before hand, so it will be cooled enough when start making the dough)

Dissolved yeast in lukewarm water.

Place flour in a large bowl (transparent bowl is fantastic, so the kids can see how much the dough rise)  and make a well in centre.  Add yeast mixture. Mix to combine. Add mashed potato, 1 tbs olive oil, sugar and salt.  Mix first with spoon until all the liquid is incorporated then use hand to knead it a little until they all combine together.  The dough won’t be super smooth, you will be able to see little bits of mashed potato.  But they should all come together and looks like a bread dough.  Cover with cling wrap and a tea towel and set aside in a warm place for 2 hrs, until doubled in size.

Now, when we were doing it, when we finished mixing the dough, it was 9 o’clock.  So I got a masking tape and asked Stella to check the height of the dough and stick the masking tape on the side of the bowl and write 9 on it.  She then checked it every now and then.  Then at 10 o’clock we got another masking tape and check the dough.  Stella was super excited that the dough was growing.  She kept on asking what made it grow.

It was interesting for me to see her ‘play’ cooking with Jake afterwards and then taught him how to cover the dough with cling wrap and tea towel and she measured the ‘dough’ and put a masking tape on the side of the bowl as well.  She even told him that the yeast makes it rise.  Now that is education right?!

Preheat oven to 200 C fan.  Grease a baking tray.  Punch down dough with fist.  Turn out onto a lightly floured surface and roll to form a 1.5cm thick rectangle.  Using fingers first dip in the remaining olive oil, and make dimples in dough.  Drizzle remaining of olive oil reserving about 1/2 tbs, then scatter sea salt flakes or some marinated olive.

Bake for 10 minutes.  Turn tray around and bake for a nother 10 minutes, until bread is golden and cooked through.  Brush with the remaining olive oil and serve warm or at room temperature.

I took some picture of the cooked focaccia, but they didn’t turn out well.  It was chaos when Jake got home, both kids were hungry.  So forget about taking picture of the focaccia, nothing is more scarier than hungry children!  We had them with pumpkin soup.  There were none left!!

Read Full Post »

Jayden (2nd from left)

Yay! Jayden won a photo competition at Gumboots, where 12 boys and 12 girls were selected to have their photos displayed in all Gumboots store nationwide! Thanks to Aunty Clara who took and entered the photo! I’m one proud Mummy and Joe too, a super proud Papa 🙂

Read Full Post »

This is a ‘must try’ recipe.  The banana muffin is egg  and dairy free.  Please for those with kids with egg allergy, give this recipe a try!  After trying heaps of egg and dairy free banana muffin, I find this is the best!  It’s moist and they just taste like what a banana muffin should taste.  My kids loves them and I brought them to a friends place last week and they didn’t even know that it was egg free.  Enough of the rave, here is the recipe:

Ingredients:

220 g plain flour

4 g baking powder

4 g baking soda

1 tbs vanilla extract

120 g muscovado (or light brown) sugar

85 ml vegetable oil

50 ml soya milk

25 ml hot water

60 g chocolate chip (make sure is egg and dairy free)

50 g sultanas

3 – 4 ripe bananas

Preheat oven to 180 C.

In a small cup mix the baking soda with the hot water, let it stand for a few minutes.  Mashed the bananas and pour the baking soda mixture to the mashed bananas.  Mix a little.

In a medium bowl mix the sugar, oil and milk with a wooden spoon.  By the way, unused Avent bottles are perfect for measuring,  and they are the perfect size for little kids.  So don’t throw them out, give them a second life in the kitchen.

Sift the flour and baking powder together.  Make a well in the centre and then pour all the wet ingredients to the centre of the bowl.  Mix with wooden spoon until all the ingredients are incorporated.  Add the sultanas and choc chip. Mix again.  Scoop them into muffin tins that has been lined with muffin paper.  Bake in the oven for 15 – 20 minutes (depending on the size of the muffin tin).  Insert skewer and check that the muffin is cooked through.

Great activity to do with the kid.  As you can see, I was making it with Jake.  He was having so much fun.  Just remember when you cook with kids, a simple 10 minutes preparation time like this recipe will end up to be more like 30 minutes.  So, make sure you are not rushing. The banana muffins are perfect for after school snack and lunch box treat the next day.  

one word "yummy"

I love the muffin shape.  That’s all because of the special tin that I got from Ikea.  Love… love it! 

Then afterwards Jake even help me with some of the washing.

Read Full Post »

I got this “Jar full of Cookies” from Stella for Mother’s day.  It was a while ago, but I wanted to share the recipe, because it’s so easy and is great for kids.  On the plus side, it is perfect for kids/ people who is allergic to egg.  It’s an egg free cookie recipe.

Going back to Mother’s day, I got invited to kindy, and we were presented with treats that the kids made during the week and they sang a song about how they love their mummies!  At the end of the afternoon tea each mum got a card and this jar that was decorated by each of their kids filled up with the dry ingreadients of the cookies along with the instruction card and it says:

Inside this jar are the dry ingredients:

3/4 c flour

1/4 c sugar

1/4 c dessicated coconut

1/2 c chocolate chip

Empty the dry ingredients into a bowl.

add 65 g of melted butter, 3 tbs milk and 1 tsp vanilla essence.

Mix together and form the mixture into a small ball.

Place on a greased baking tray and press down

Bake on 180 C for 12 minutes

The cookies were yummy, it only lasted 2 days in the jar.  I love it when I got the chance to cook or bake in the kitchen with the kids.  I got to see the kids working together, Stella teaching Jake how to mix, helping him out with the bowl and spatula and Jake loves it!  How time flies… can’t believe that Stella is 4 1/2 and Jake will be 2 in a few months!

Read Full Post »

Older Posts »