Feeds:
Posts
Comments

Posts Tagged ‘Kids craft’

Stella and Jayden did a craft together today.  It was an easy egg carton pet dog and cat with a leash.  Stella did a dog one at kindy and she absolutely loved it. It’s more appropriate to do a dog one, but Stella insisted on making a cat this time since she has a dog already.  Jake joined in the fun too and did some colouring in.

What you need

egg carton

paper

crayon

sticky tape

ribbon/ string
P7298254

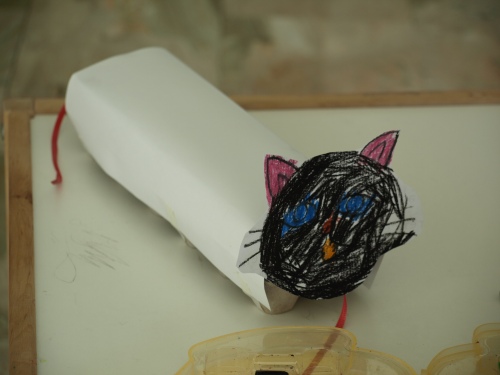
Stella with her black cat

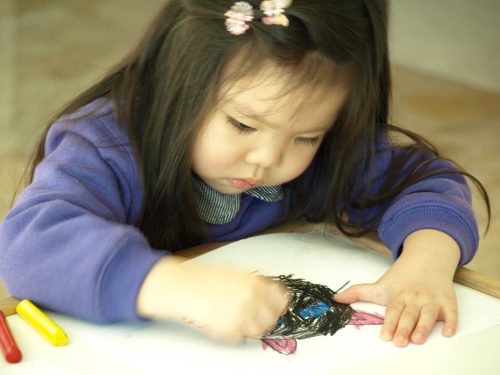
Jake colouring in the dog

Jake colouring in the dog

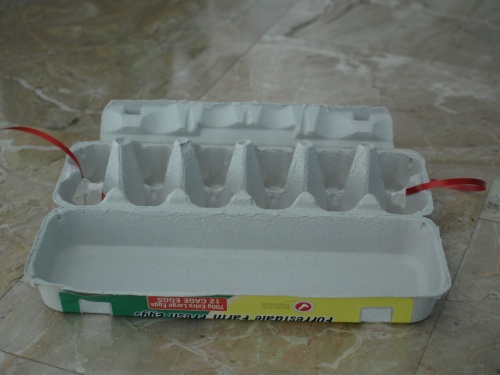
Draw a picture of dog or cat face.  Get the kids to colour in the face.  Meanwhile tape a long ribbon (this is for the leash) on one end of the egg carton and a stick a shorter ribbon (this one for the tail) on the other side.
P7298256P7298259

Cut out the face of the dog or cat.

Cover the top of the egg carton with paper and get the kids to colour this, then sticky tape the face onto the egg carton body.
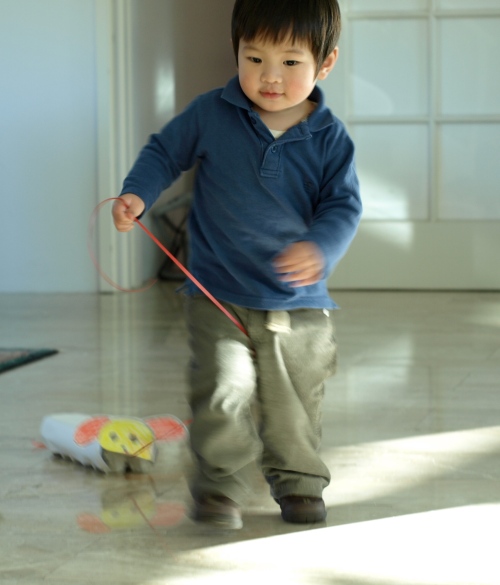
Jayden with his egg carton dog

Jayden with his egg carton dog

Both Stella and Jayden loves their pet!  Stella called her cat Mr. Pink!
Read Full Post »

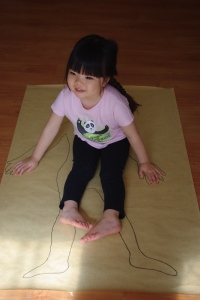
Yes I still have my brown paper rolls.  I did make heaps of wrapping paper with it.  But one day, this idea just popped out of my head.  Trace Stella.  Yup.  Her whole body on the brown paper.  Then I’d ask her to draw the eyes, nose, ears, mouth, etc.  And of course paint the whole thing.   

tracing stella

tracing stella

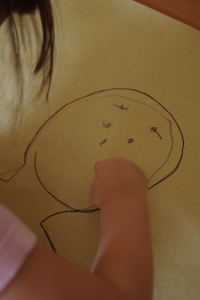
 Ask your child to lay flat on the brown paper and trace his/her body.  Stella giggled throughout…

drawing the eyes, nose and mouth

drawing the eyes, nose and mouth

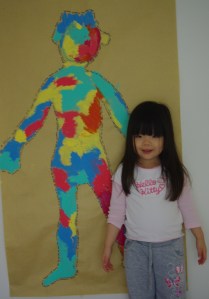
After you have the whole outline of the body and the head, you can ask your child to start drawing their eyes, nose, mouth, ears etc.  When Stella finished drawing the eyes, nose, etc.  She looked at me and said “Mum, I look like a monkey…” and burst out laughing.  I don’t remember what I said to her, we were laughing a lot.  But I didn’t want to do the drawing for her, I wanted it to be her own original artwork.  After that, she went crazy with her paints.  She started of with her left fingers, she was really into it she painted each one of her fingers.  But by the time she did the other hands, it looks more like a fist hehe…  I must say, I am impressed when she finished the painting, it was afterall quite HUGE painting for a 3 year old! 

Stella and her finished painting

Stella and her finished painting

 IMGP5759

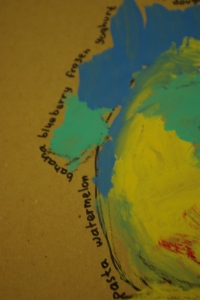
To remember what she is like at 3 and 1/2 I asked lots of questions and wrote down the answer along the side of the painting.

Questions like:

Favourite colours, foods, fruits, books, songs, tv shows, her first kindy teacher, and then she added her imaginary friend “uncle emu” (who lives in surabaya, and she has never seen him before, but speaks on the phone often!)

Read Full Post »

A great way to do something simple and easy craft with your kid and also to learn about elephant.  When we did this puppet, I talked to her about elephants and where they come from: Asia and Africa.  Asian elephants have smaller ears and tusks and African elephants have bigger ears and are much bigger and taller then the Asian elephants.  Fun facts like they can swim, they are vegetarian – eat lots of leaves, grass and tree barks and they spend 20 hours a day eating!  They have 4 teeth and 2 tusks!  They make trumpetting sound to call each other and they can live up to 80 years.  I think is much more fun learning and talking about elephants this way. 

What you need

Paper (White or colour)

Straw

Sticky tape

Colour pencils/ Crayons/ Texta

tracing hand

tracing hand

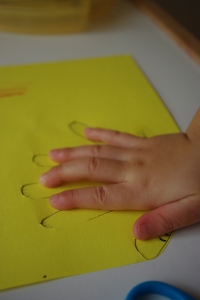
Trace your child’s hand on the paper and cut out the shape.

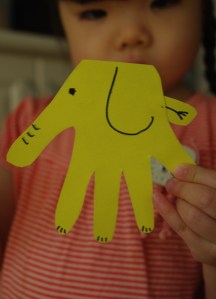
paper elephant

paper elephant

Draw the elephant eye, ear, detail on the trunk and I added the little tail at the back.  Simply draw the tail on another piece of paper and sticky tape.  Ask your child to colour the elephant, then we just sticky tape the whole thing onto the straw.

paper jake and elephant puppets

paper jake and elephant puppets

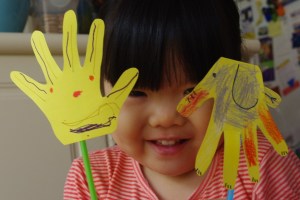
Then Stella decided that she wanted to make puppet that looks like Jake.  “Because Jake’s got spikey hair mummy… ” hehehe… hilarious. 

We were playing with the puppets, making up scenario that Jake went to Africa to meet his elephant friend.  They both went on an adventure, our pot plants became the jungle, the carpet became desert and we just went around the house making up story. 

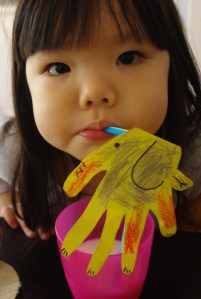
After all that, Stella had a glass of milk and she wanted to use the straw from the elephant puppet, so when I served the milk, I told her “Here is a glass of elephant’s milk”.  (She is not into milk, but she finished the whole cup, I guess the “Elephant milk” were delicious!)

a glass of elephant's milk

a glass of elephant's milk

Read Full Post »

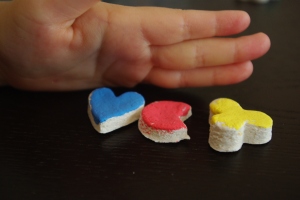
Originally I wanted to make some beads out of clay, HUGE beads.  But as I was making the beads I realised that the clay is too dry.  So, plan “b”, we flattened the clay with the rolling pin and use some small cookie cutters and cut it into different shapes. Oh and Stella made a face sculpture, all by herself…

Non Baking Clay

3/4 c flour

1/2 c salt 

1/2 c cornstarch

some warm water ( I used about 3/4 c)

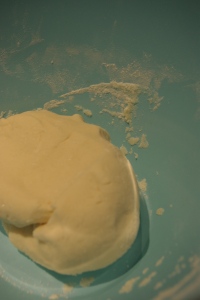
Mix the flour, salt and cornstarch in bowl.  Gently add warm water until the mixture comes together. Knead the mixture a little and you can create mini sculpture or roll them and cut into different shapes.

non baking clay

non baking clay

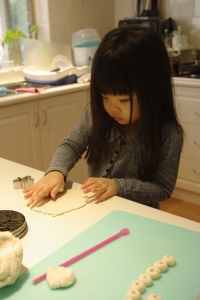
rolling and cutting the clay

rolling and cutting the clay

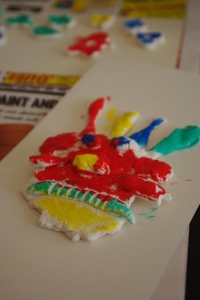
Once dried (I lay them out in the sun for 2 days) we painted the clay.

painted face sculpture

painted face sculpture

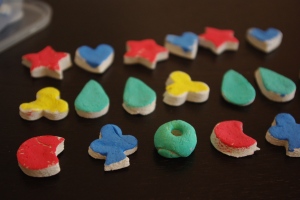
As for the other cut out clay, I thought they would be perfect for doing some games with Stella:

shape patterns

shape patterns

Great for recognizing pattern.  I started of by showing her simple pattern, red-blue-red-blue-red and ask her what comes next? and finish the pattern.  Then of course you can gradually make it harder by having one red followed by two blue and so on…

memory game

memory game

For the memory game: I take 2 or 3 clay and put it in a row.  Ask Stella to look at it and remember it.  Then I cover up the clay and ask her to copy what she saw.  She really likes this one.  We take turns doing it and sometimes Stella give me a really long row to remember… hehehe… (cheeky little girl!)

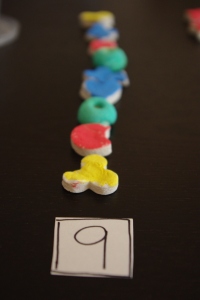
counting

counting

I have little cards written with numbers from 1 – 20.  I put the card down (9 in the picture above) and ask her to get the same amount of clay as the card.  I do it the other way around too, by putting a certain number of clay in a row, asking her to count and get the card with the right number on.

Read Full Post »

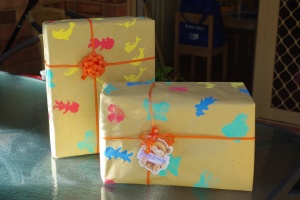
I bought 3 rolls of brown paper from RIOT the other day.  They were on sale: $1.99 for 5 metres roll.  What a great bargain!  I have been planning on doing this project for sometimes now but I never had the chance to do it. 

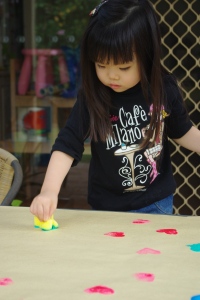
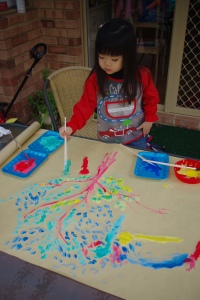
Stella loves painting; we have a huge pile of her painting.  So the idea is, for her to paint her heart content on the brown paper roll and I will use the painted roll for wrapping paper. 

imgp5300

imgp5317

imgp5331

It was so much fun.  We used different technique.  We started with sponging, then stencling, then free painting.  She spent 2 hours and used half of the 5 metre roll.  I love it, Stella got to paint and I got a one of a kind wrapping paper. 

And the best thing about this is, if you really like the painting you can just cut the paper and keep the painting.  If not, they still make great wrapping paper.  What do you think?  I think they look really cool.

What you need:

Brown paper roll

Paints

Stencil

Sponge

Paint brushes

If you don’t have any stecil or sponge you can try the following:

Finger painting

Hand and foot print

Leaf print

Fruit print

and I will definitely get some glitter paint next time, I think it will be fabulous!

Read Full Post »

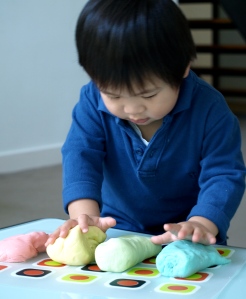
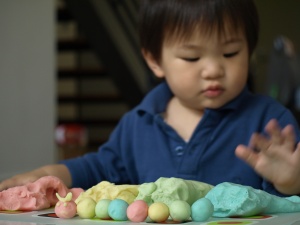
We finally tried the play dough recipe that my sister gave us. It was easy, quick and turned out really well, perfect activity for a rainy and gloomy Sunday afternoon!

We made some caterpillars and we used plastic cookie cutters to make different shapes like hearts, moon and stars. Meanwhile, Grandma taught him how to fold curry puff with the dough! Jayden was just happy to mix all the different coloured dough together and of course secretly eating some of the dough, even though I told him many times not to eat it 🙂 

p41962601

p4196266

What you need:

2 cups plain flour

4 Tbs cream of tartar

2 Tbs cooking oil

1 cup salt

2 cups water

food colouring (we just used 3 drops to get these soft colours)


Mix all dry ingredients in a bowl. 

Boil the water in a saucepan or kettle, once it comes to a boil pour into the bowl containing dry ingredients.

Mix until the mixture congeals.

Once the dough is cool enough to handle, knead it a little.  Then divide into 3 or 4 balls and add food coloring.

If you only have 1 food colouring, then just add the colour into the boiled water before mixing it.


You can also play magic play dough: hide the food colouring inside the dough and let the kids knead it until it changes colour. 

Don’t forget to keep them in the fridge, so that it would last longer.

Read Full Post »

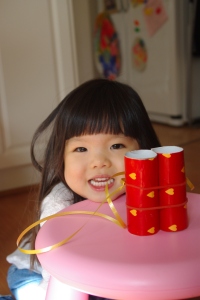
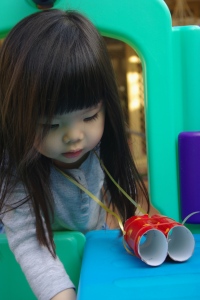
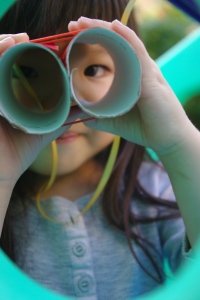
We spent 5 minutes making this and Stella had the binoculars hanging on her neck the whole day!  It doesn’t cost anything for me to make this, everything is from my ” recycled junk ” collection.  Everybody is happy! 

imgp5271

What you need:

2 toilet roll carton

scrap wrapping paper (try unused newspaper or catalogue)

glue

2 elastic bands

string

Stick some wrapping  paper on the toilet rolls.  Put the elastic band on the toilet paper rolls so they stick together.  Tie string on one of the elastic band and VOILA… you got yourself a cool binoculars!

imgp5277

imgp5274

I played “Find me the … (green car, oranges, butterfly, aeroplane)” game with Stella.  Asking her to scan the room using her binoculars and find the ‘thing’.  She loves it!   Then she told me that she wanted to go outside and explore the garden.  Amazing isn’t it what 2 toilet rolls stuck together can do! 

By the way, today is day 3, and the binoculars is still hanging around her neck!

Read Full Post »

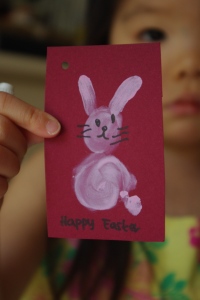
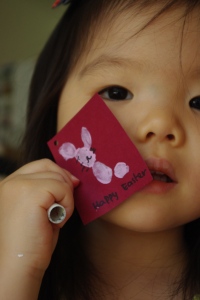
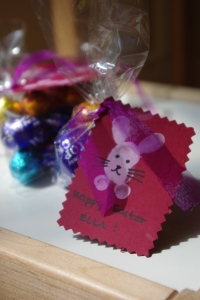
It’s almost Easter and I thought why not make an Easter Bunny card to go with our Easter eggs to give as a gift.  This is a very easy and fast craft to do.  Do give it a go!

What you need :

Carton (darker colour)

White paint (make sure is non-toxic)

Black marker

imgp51001

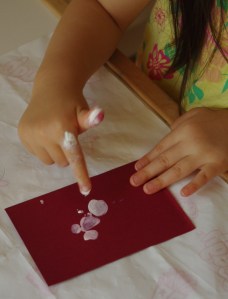
Dip finger into white paint and ask your child to draw a circle for the head, then add the two pointy ears, big circle for the body and a little tiny dot for the bunny tail.  Wait until the paint is dry and then draw the bunny’s eyes, nose and whiskers.  That’s it!  I did show Stella how to do it before she started, so she gets an idea of how it’s going to look like.  Some of the early one that she made look more like a mouse than a bunny, but hey all that matters is that we had some fun!

imgp5104

imgp5105

imgp5108

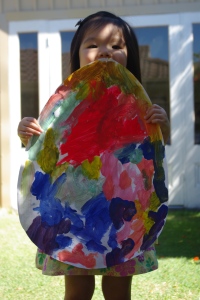
Stella came back from kindy last week, and she painted a HUGE Easter egg.  I thought it was the most beautiful Easter egg, but then again I am her mother.  Good job Stella, we are so proud of you!  And Happy Easter everyone!

imgp5110

Read Full Post »

Older Posts »